
After braces are removed, retainers become an essential tool in orthodontics to maintain alignment and ensure long-lasting results for your teeth. But here’s the problem—they’re constantly exposed to saliva, bacteria, and plaque, making them a breeding ground for microorganisms. Most people rinse or brush their retainers, but that’s not enough for a deep clean.
That’s where an ultrasonic cleaner comes in. Unlike traditional methods, this effective and convenient device uses high-frequency sound waves to blast away stubborn buildup. In this article, we’ll explore the benefits of ultrasonic cleaning and walk you through a step-by-step guide for proper maintenance. Trust me, once you try it, you’ll wonder why you didn’t switch sooner.
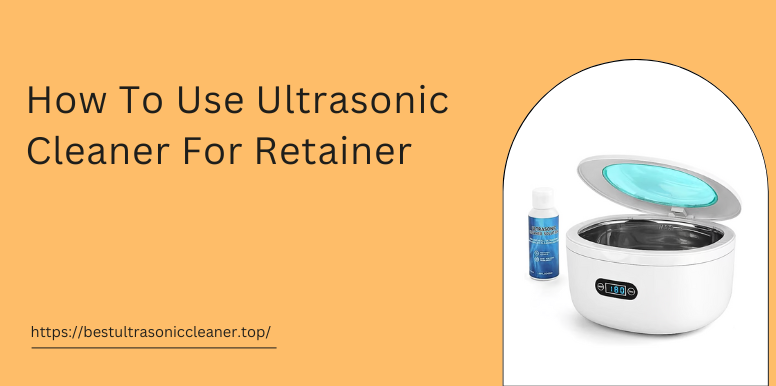
How To Use Ultrasonic Cleaner For Retainer
What is an Ultrasonic Cleaner for Retainers?
Why Ultrasonic Cleaning Beats Old-School Methods
Let me tell you why I switched from traditional cleaning methods to an ultrasonic cleaner for my retainer maintenance. While brushing works okay, it can’t reach those hard-to-reach areas and crevices where plaque and bacteria love to hide. A shocking study by University College London Eastman Dental Institute found 66.7% of retainers carry Candida and Staphylococcus – yuck!
Here’s the game-changer: ultrasonic cleaners use high-frequency sound waves to create millions of tiny bubbles that disrupt and remove harmful microorganisms. It’s a gentle yet powerful process that keeps your retainer undamaged while removing build-up completely.
Unlike harsh abrasive materials that cause wear and tear, this method preserves your retainer’s functionality and lifespan. Plus, with 1 in 4 adults in the United States having untreated tooth decay, keeping oral appliances bacteria-free is crucial to improve overall health.
The Science Behind Sparkling Clean Retainers
The Magic of Ultrasonic Cleaning Explained
When I first tried an ultrasonic cleaner for my retainer, I was amazed at how it works. Here’s the insight: once turned on, the device generates high-frequency sound waves (between 20,000 to 40,000 Hz) that create alternating positive and negative pressure in the cleaning solution. This causes an incredible phenomenon called cavitation –
where millions of tiny gas-filled bubbles form, collapse rapidly, and implode with enough force to release powerful shockwaves.These shockwaves dislodge and remove every speck of dirt, debris, and contaminants from your retainer’s surface without any abrasion.
What makes this process so brilliant is how effective and efficient it is – delivering a thorough, deep clean in a relatively short amount of time. No scrubbing required, just science doing its magic!
Your Foolproof Retainer Cleaning Routine
The 7-Minute Deep Clean Method
After years of using different cleaning methods, here’s my proven step-by-step guide to get your retainer sparkling with an ultrasonic cleaner. First, prepare your cleaner by filling the stainless steel tank with a suitable cleaning solution (I often use water with a sterilization tablet). Always check the manufacturer instructions for specifics.
Before placing your retainer, ensure it’s free from loose debris or food particles by giving it a quick rinse under warm water and a gentle brush with a soft toothbrush. Then place it in the designated cleaning basket, making sure it’s fully submerged. When you turn on the device, it generates ultrasonic vibrations that create bubbles through cavitation to dislodge hidden dirt and contaminants.
After the specified duration (usually 3-5 minutes), the cleaning cycle completes – just carefully remove your retainer, inspect for any remaining residue, and give it a final rinse to remove all traces of the cleaning solution. I always finish by patting dry with a clean towel or letting it air dry before storing in my Zima Go hygienic case.
Getting the Most From Your Ultrasonic Cleaner
Pro Tips for Perfect Retainer Cleaning
Through trial and error, I’ve discovered how to make ultrasonic cleaners truly efficient for retainers. The golden rule? Clean regularly to prevent stubborn build-up of plaque, bacteria, and other contaminants. Always follow the manufacturer instructions when selecting the appropriate cleaning solution – this makes all the difference in maximizing effectiveness.
Here’s my routine: Before placing your retainer in the cleaner, ensure it’s free from loose debris by giving it a quick rinse. After each cleaning cycle, take a moment to inspect and confirm all residue has been effectively removed. These simple tips will keep your retainer fresher longer and help your cleaning solution work its magic every time.
Finding Your Perfect Retainer Cleaning Partner
What to Look For in an Ultrasonic Cleaner
After testing several models, I’ve learned choosing the right ultrasonic cleaner for your retainer comes down to a few key factors. First, check the tank size – it should accommodate your retainer comfortably without being too bulky.
Look for models with adjustable cleaning intensity and time settings to meet your specific needs. I always recommend sticking with a high-quality, reputable brand – reading customer reviews and consulting dental professionals can help make an informed decision.
My personal favorite? The Dental Pod, a dentist-recommended cleaner specifically designed for oral appliances. It delivers sparkling clean results in just five minutes, using powerful 42,000 hz ultrasonic waves that break down plaque, bacteria,
and other pathogens. Its compact size makes it easily used and stored at home, while supporting healthy oral hygiene by keeping retainers free from harmful microbes.
The Game-Changing Way to Care for Your Retainer
Why Ultrasonic Cleaning Wins Every Time
I’ll never forget how my retainer transformed when I switched to ultrasonic cleaning – what a difference! This convenient and effective method does more than just maintaining oral hygiene; it actually prolongs the life of your retainer by utilizing the incredible power of high-frequency sound waves.
The secret lies in cavitation, where millions of microscopic bubbles eliminate bacteria, plaque, and other contaminants that brushing misses. By incorporating this into your maintenance routine, you’ll achieve a deep, thorough clean that keeps your retainer fresh all day.
It’s the smart way to preserve your orthodontic investment while you enjoy that clean, healthy smile you worked so hard for. Trust me, once you try it, you’ll wonder how you ever settled for less!
The Retainer Cleaning Revolution
Meet the Dental Pod – Your New Best Friend
Let me introduce you to the Dental Pod by Zima Dental, the ultrasonic cleaning machine that changed my retainer care game forever. This little powerhouse works 4,380 times per second – yes, per second! – making it an unbeatable cleaner that completely beats traditional oral appliance methods.
What I love most? You’ll never need to brush your retainer again (goodbye, scratched plastic!). Their customer care team is just a touch away to answer questions and provide details about this game-changing device. Click to find out how it can transform your daily routine like it did mine.